Heesab Client Setup Manual
This manual walks a new Heesab client through the first setup path. Heesab is intentionally review-first
at the beginning: connect QuickBooks, confirm the company file, send sample source documents, map the first
vendors or workflows, and only then trust routine work.
Setup Overview
- Create or activate your Heesab workspace.
- Verify your email address.
- Connect the correct QuickBooks Online company file.
- Confirm the inbound email address for invoice forwarding.
- Start with review-first workflows.
- Review the first few transactions in Heesab and verify them in QuickBooks.
- Mark only routine, understood work as trusted for auto-post.
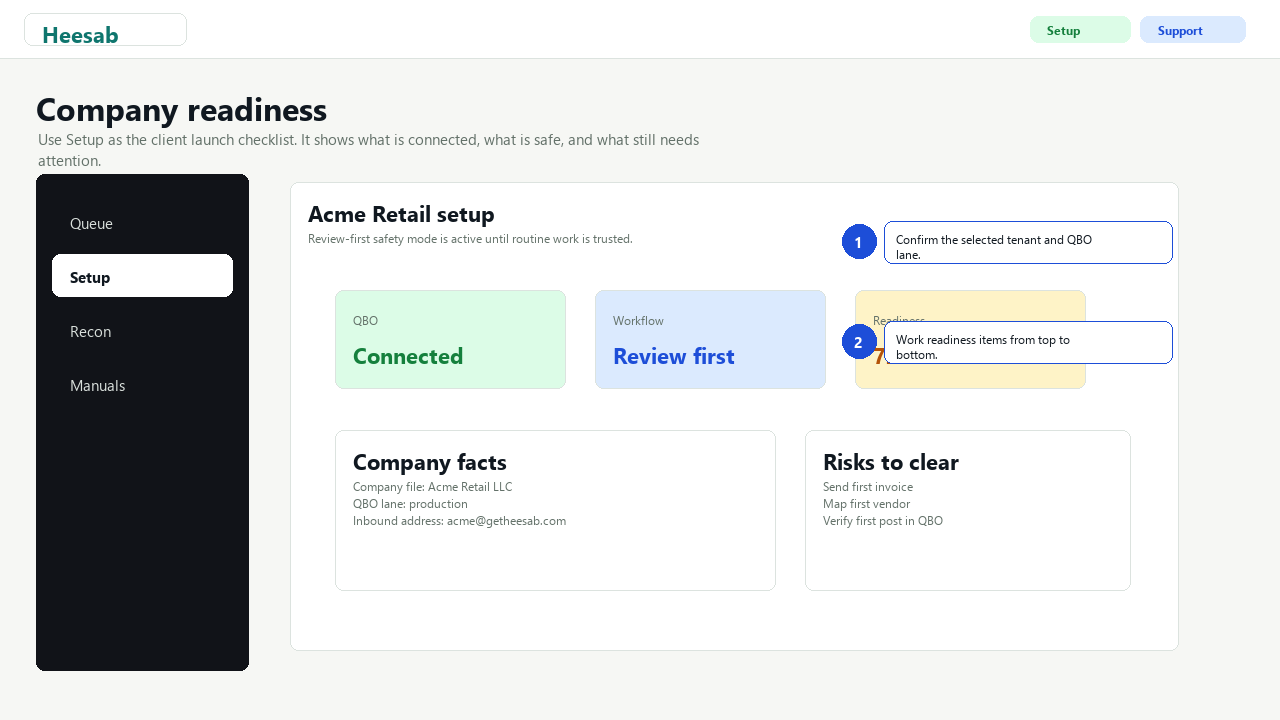
Step 1 - Activate Your Workspace
- Open the Heesab dashboard.
- Choose Activate a client workspace if you do not already have a login.
- Enter the business name, your name, email, password, and optional inbox name.
- Use a business email address that can receive the verification link.
Your inbox name becomes part of your Heesab forwarding address. Keep it short and recognizable.
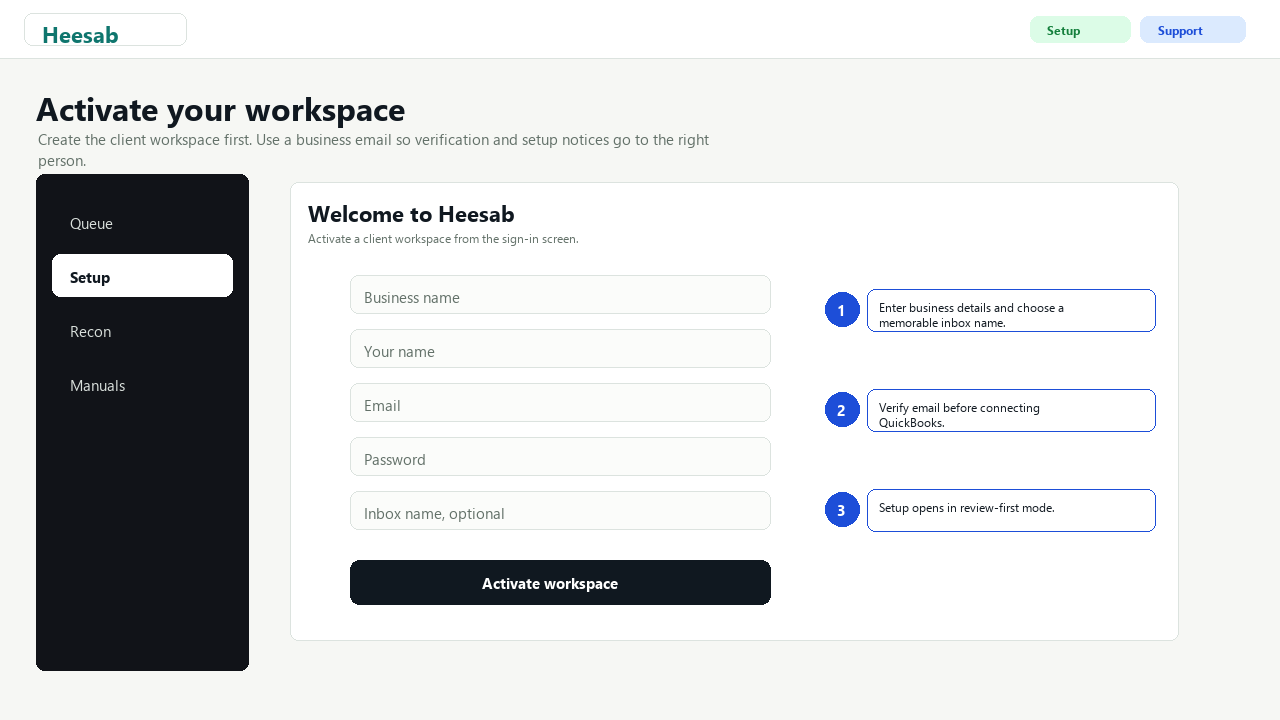
Step 2 - Verify Email
- Check your email for the Heesab verification link.
- Open the link before connecting QuickBooks.
- If the message does not arrive, use Resend link in the dashboard.
Heesab blocks client QuickBooks connection until the account email is verified.
Step 3 - Connect QuickBooks
- In Setup, choose the client/company you are configuring.
- Click Connect QBO or Reconnect QBO.
- Sign in to Intuit and choose the exact company file Heesab should automate.
- Return to the dashboard and confirm Setup shows QuickBooks connected.
Do not connect a sandbox/test company to a production Heesab tenant. If you are unsure which company file
you selected, stop and ask Heesab support before sending real documents.
Step 4 - Confirm the Inbound Address
- In Setup, find the inbound email address for the tenant.
- Copy it exactly.
- Forward one safe invoice or sample document to that address.
For the current pilot lane, use the public tenant address shown in the dashboard. Do not invent an
`in.getheesab.com` address unless Heesab support confirms that route is configured.
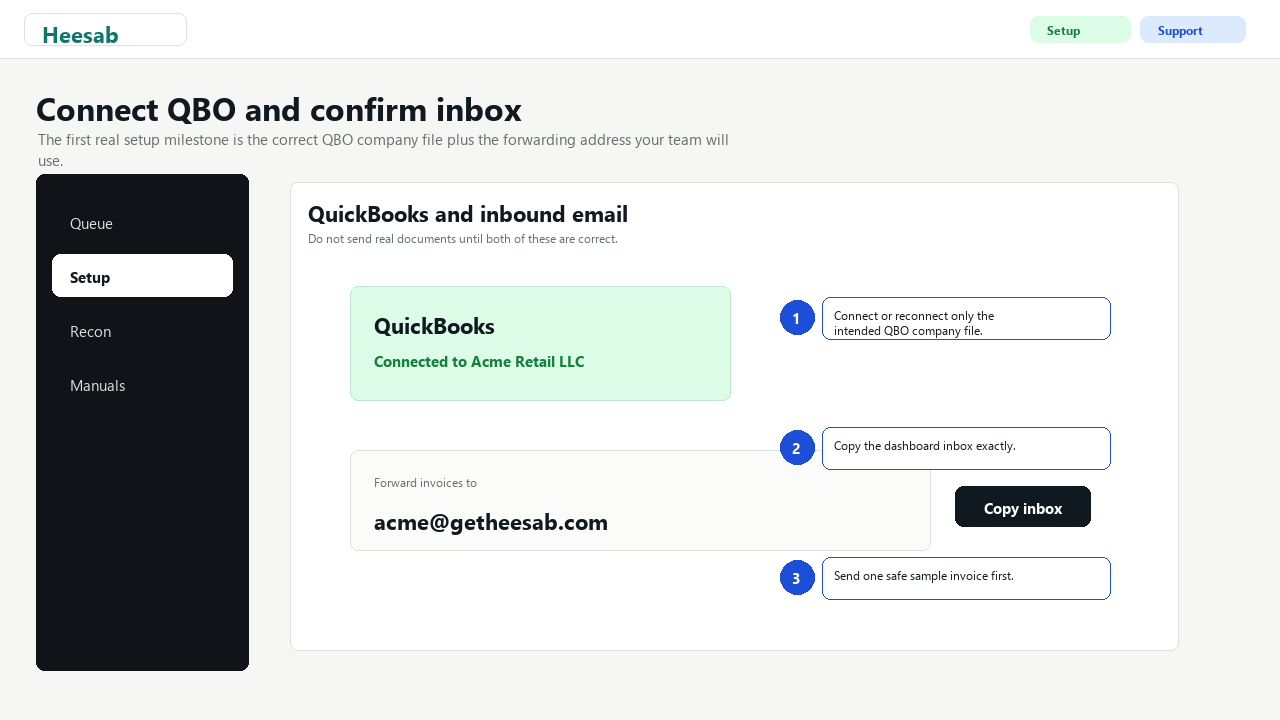
Step 5 - Review the First Invoice
- Open Queue.
- Find the new invoice in Needs vendor or Pending review.
- Confirm vendor name, invoice number, dates, total, and line items.
- Map the vendor to the correct QuickBooks vendor and posting account.
- Approve and post only after the fields and mappings are correct.
- Verify the posted transaction in QuickBooks.
The first invoice for a vendor should be treated as training data. Review it carefully.
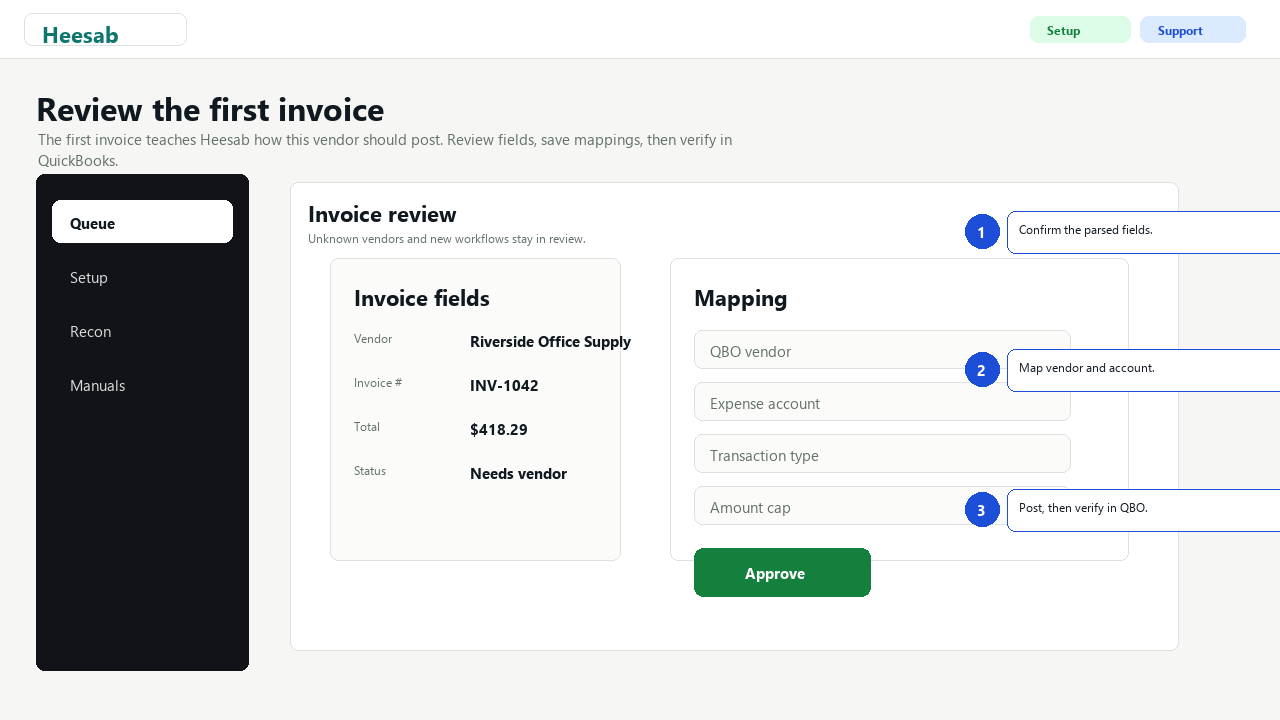
Step 6 - Trust Routine Work
Only trust a vendor or workflow after a successful verified posting.
- Turn on trust only for repetitive, predictable work.
- Set a conservative amount cap.
- Keep Always review on for uncertain vendors, irregular invoices, or unusual amounts.
- Use review-first mode until the client and Heesab support agree that automation is safe.
Trusted work can auto-post when the workflow, mapping, confidence, amount, and safety checks all pass.
Step 7 - Recon Extension Setup
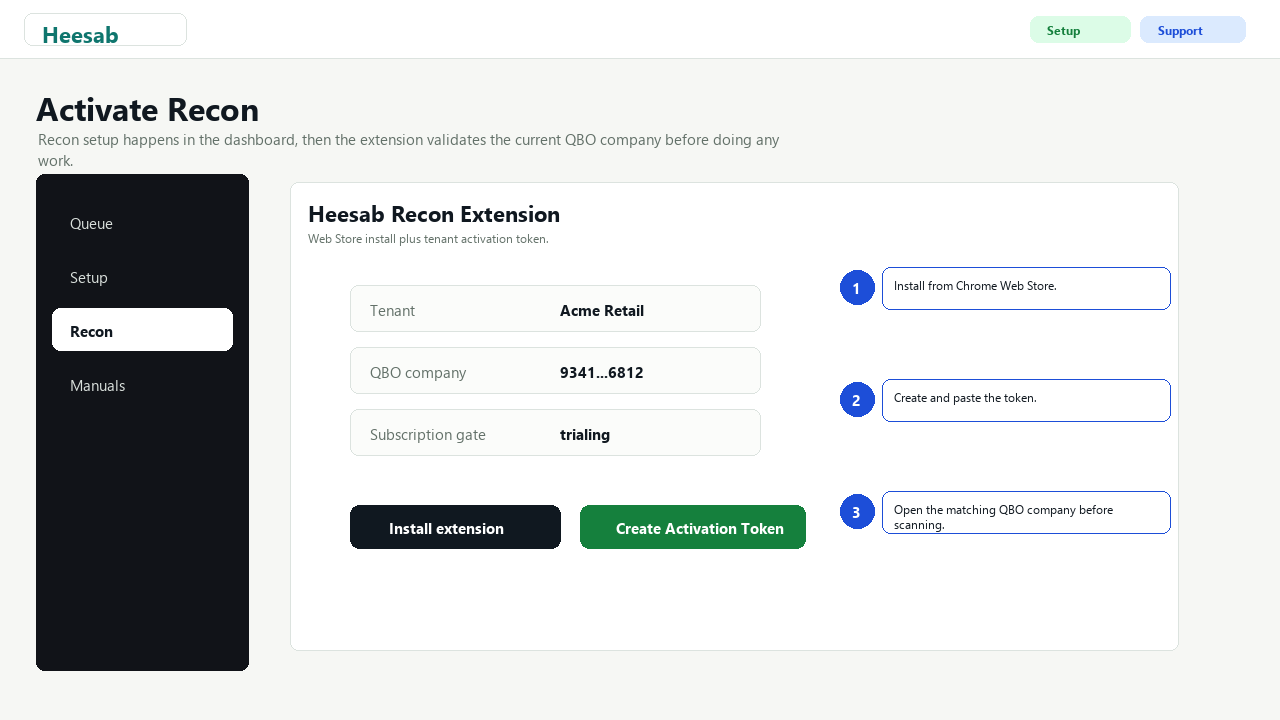
- Install the Heesab Recon Check-Off Assist extension from the Chrome Web Store link in the Recon tab.
- In the Heesab dashboard, open Recon for the selected client.
- Create an activation token after the tenant has an active Recon entitlement and connected QBO company.
- Paste the token into the extension.
- Open the matching QuickBooks company file before scanning or checking rows.
The extension validates the active tenant, subscription gate, QuickBooks environment, and company file
before scan, upload, or check-off.
Step 8 - Company Forms Setup
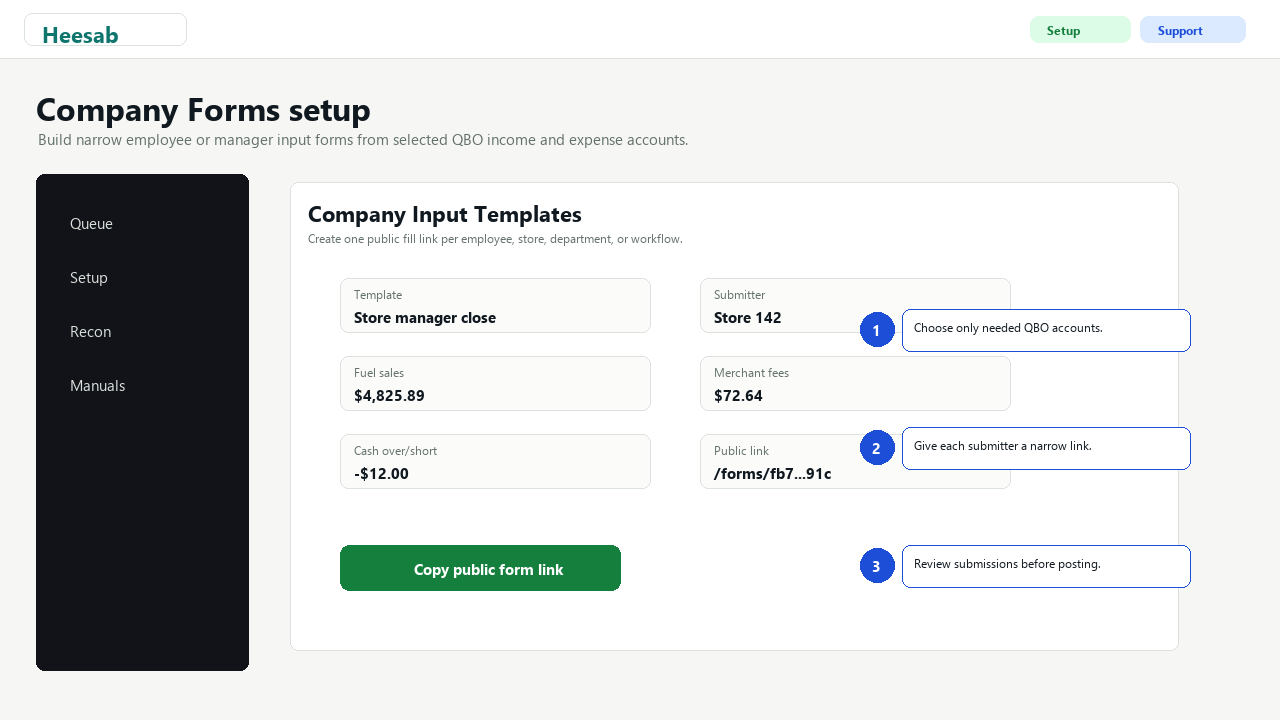
If the company needs employees or managers to submit structured inputs:
- Open Forms.
- Select the client.
- Create one template per employee, store, department, or workflow.
- Choose only the income, expense, or COGS accounts that belong on that form.
- Copy the no-login form link and give it only to the person or team responsible for that input.
- Submitted forms become reviewed queue items before anything posts to QuickBooks.
Safety Rules
- Unknown vendors stay in review.
- Missing mappings stay in review.
- Low-confidence or unusual items stay in review.
- Amounts over the configured cap stay in review.
- QBO-side Recon check-off requires explicit operator approval.
- Heesab does not move money, run payroll, file taxes, or provide accounting advice.
When to Contact Support
Contact [email protected] if:
- The wrong QuickBooks company was connected.
- An invoice posted to the wrong vendor, account, class, or amount.
- A trusted workflow should be paused.
- The Recon extension says the company file does not match.
- Email forwarding is not reaching the queue.
- You need to add another QBO company file.